I needed a quick, easy and inexpensive way to display place cards for a wedding. But, of course, I also wanted it to be really cute. So this is what I did...
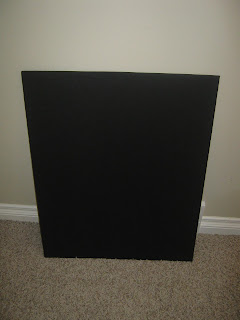
The board is a piece of foam board, purchased at Walgreens for $4. This particular one is 22X28 and fit 45 standard sized place cards, so depending on the number of guests you may need multiple boards. The ribbon was from Walmart and was $1.47 a roll and I used about 1.5 rolls.
Step 1: I figured out how many cards I could fit across (five) and so I knew I needed 9 rows. To keep good spacing I measured out every 3 inches and used a pencil to mark the spot.
Step 2: Lay your ribbon across leaving about an inch and a half on each side. You can prepare ahead and cut all the ribbon at once.
Step 4: Continue taping the ribbons down the board, following your measured out pencil marks
to ensure each line is straight.
Step 5: Place the cards tented over the ribbon in alphabetical order and VOILA!!! Less than 30 minutes and under $8 and I had an adorable board that received many compliments! I set the board on an easel but thought a metal book stand on a table would be cute too, especially if you need more than one board.
Thursday, September 17, 2009
DIY Place Card Board
Subscribe to:
Post Comments (Atom)


No comments:
Post a Comment